How to Transplant Tomato Seedlings
If you've ever watched a tray of tomato seedlings go from healthy to limp within days of planting out, you already know transplanting is the roughest part of the season. Knowing how to transplant tomato seedlings properly can turn that shaky start into a strong, deep-rooted plant by midsummer.
The key isn't luck. Tomato stems have a superpower: when buried, they sprout adventitious roots along the buried section, which means a bigger root system and a sturdier plant. As of 2026, extension services and seed companies still recommend the same baseline, plant deep once the soil is warm.
That's the short version. The details decide whether you get a week of wilt or a season of strong growth.
Is It Time to Transplant? The Quick Answer
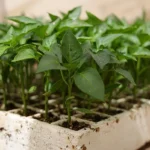
Transplant tomato seedlings when they have two or three true leaves and sturdy stems. Night temperatures must stay above 50°F. Harden them off for 7 to 10 days first.
Then bury the stem up to the top leaves. Water deeply. If you hit those marks, you've done the core job right.
In our research, the most common destroyer of young tomatoes is impatience. People see warm spring days, get excited, and plant too early. Then a cold night arrives, the soil stays cool, and the seedling just sits there, sulking.
So before you dig, run through a quick checklist:
- True leaves: 2 or 3 sets are fully grown.
- Stem: thick, upright, and roughly pencil-width. No bending.
- Roots: white and starting to fill the cell, but not a tight knot around the bottom.
- Weather: night temps above 50°F and soil temperature around 60°F at 4 inches deep.
- Hardening off: completed a full 7 to 10 days of gradual outdoor exposure.
If every box is checked, transplant. If nights are still cool, wait. And if your seedlings are leggy, don't scrap them.
Burying the stem deep fixes that, which is exactly what we cover next.
Why Transplanting Deeper Matters: The Secret to Stronger Tomatoes
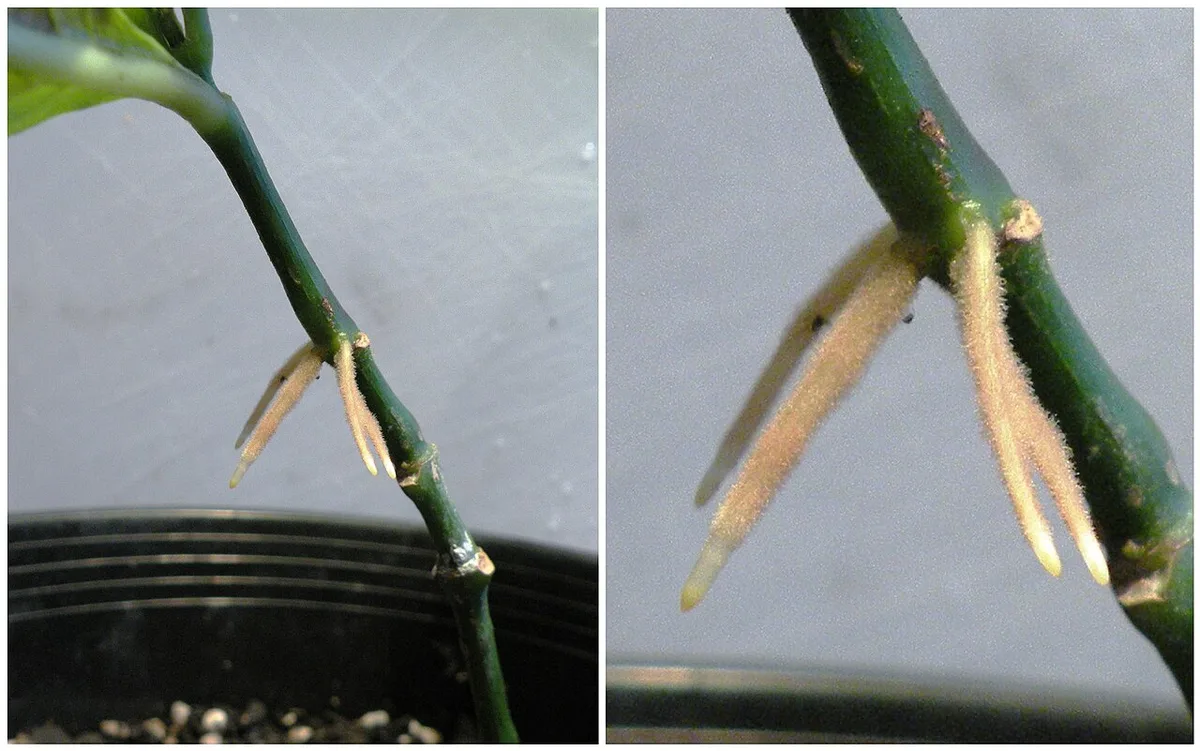
Here's the part that surprises most new gardeners. A tomato stem isn't like a pepper stem. It's covered in fine hairs that can turn into roots when they touch moist soil.
Botanists call them adventitious roots, and they're the reason the classic advice says to plant tomatoes deeper than they sat in the pot.
Image source: Wikimedia Commons / Nzfauna (CC BY-SA)
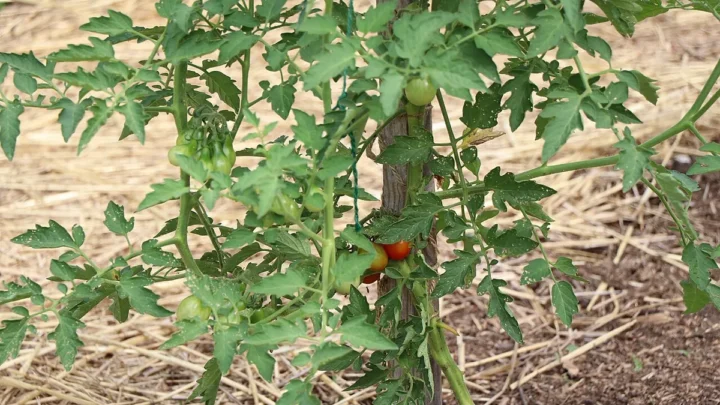
Burying the bottom of the stem up to the top leaves does two things. It creates a much larger root system, which feeds the plant through the season. It also steadies a leggy seedling that got too little light indoors, turning a tall, weak stem into a buried anchor.
University extension testing confirms this. Vegetable guides from University of Minnesota Extension describe the same practice: keep the top leaves above soil and let the buried stem do the work. Side-by-side trial results consistently show that deeply planted tomatoes develop more roots, handle dry spells better, and outgrow shallow-planted ones.
What about a seedling that's short and stocky? You can still plant it deep. Just pinch off the bottom two leaves and set it so the first remaining leaves sit just above the soil line.
The buried node where those leaves were attached becomes a root-producing zone. If you don't bury deep, the plant will likely survive. You're just leaving growth potential in the soil.
The Transplant Process: Step-by-Step for Potted and In-Ground Plants
Treat transplanting like a small surgery. Prep everything ahead of time, work gently, and don't rush the root ball. Here's the workflow that gives you the best outcome.
Step 1: Water the seedlings well. About an hour before transplanting, give each seedling a thorough drink. Moist soil clings to the roots better than dry soil, and hydrated plants handle the move far better.
Step 2: Choose the right moment. Transplant on an overcast afternoon or in the early evening. The cooler light reduces water loss and gives the roots overnight to settle. Hot midday sun is the worst possible timing.
Step 3: Dig the hole. Dig deep enough to bury the stem up to the top leaves. That usually means a hole about 2 to 3 inches deeper than the root ball. Add a handful of compost and a light sprinkle of balanced starter fertilizer to the bottom, then mix it into the soil.
Step 4: Remove the seedling from its container. Squeeze the sides of a plastic cell or cup, then tip the plant out gently. If the seedling is in a biodegradable pot, tear away the rim or the bottom to make sure roots can push through. Handle the plant by the leaves or root ball, not the stem.
A crushed stem can kill a young tomato.
Step 5: Pinch lower leaves and plant deep. Strip the leaves from the bottom half of the stem. Set the plant into the hole so the remaining leaves are just above the soil surface. Backfill, then firm the soil gently with your palms.
Step 6: Water deeply with starter solution. Use a transplant fertilizer mixed to the label rate, or just plain water. Water slowly at the base until the soil is soaked. This settles the soil around the roots and removes air pockets.
Step 7: Mulch and support. Add 1 to 2 inches of straw or shredded leaves around the base, keeping it a few inches away from the stem. Install a cage or stake right away if you plan to use one. Waiting a few weeks risks stabbing into roots later.
Container, Raised Bed, or In-Ground: How the Approach Changes
Where you plant changes the setup, the spacing, and how often you need to water. Let's break it down.
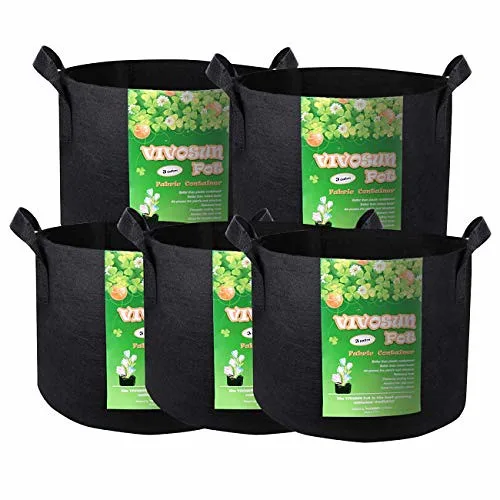
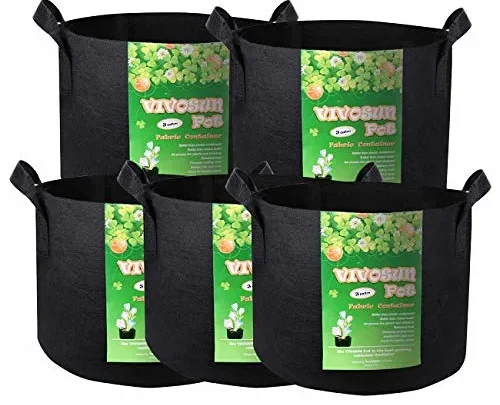
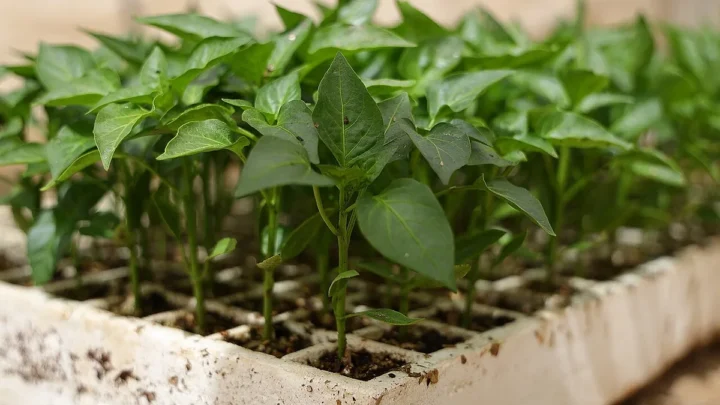
Image source: Openverse / shop8447
| Setup | Minimum depth | Spacing | Best for |
|---|---|---|---|
| In-ground | 8–12 inches of amended soil | 18–24 in for determinate, 24–36 in for indeterminate | Large gardens with room to spread |
| Raised bed | 12+ inches | 18–24 inches | Warmer soil in spring, better drainage |
| Container or grow bag | 5-gallon container per plant | 1 plant per container | Patios, balconies, and small spaces |
Determinate tomatoes stay compact, so they can squeeze into 18-inch spacing. Indeterminate plants keep growing all season and need the full 24 to 36 inches. If you pack them tighter, you get leafy vines and poor airflow.
That invites fungal disease, especially in humid regions.
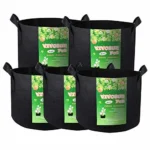
Containers change the rules in one big way. The 5-gallon minimum is the floor, not the goal. Bigger is better.
A 10-gallon grow bag holds more moisture and gives roots room to roam. Small pots dry out fast, and a tomato that dries out during fruit set drops flowers or develops blossom end rot. The USDA's gardening resources note the same point, and it aligns with manufacturer specs on most grow bags.
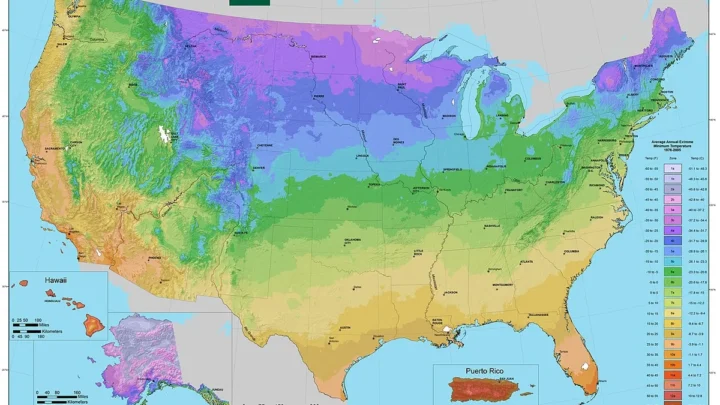
Check the USDA site for zone-specific planting calendars too.
If the weather isn't cooperating, pot up instead. Move a seedling into a 1-gallon pot and keep it indoors for another week or two. That's a better option than planting into cold soil and hoping.
In-ground plants in cool soil grow roots very slowly. A raised bed warms faster because the soil is above ground level. Containers warm even faster.
Transplant Mistakes That Cause Shock, Wilting, and Stunted Growth
Most transplant problems come down to a handful of repeatable mistakes. Here's what goes wrong and how to keep it from happening.
- Skipping the hardening-off process. This is the #1 cause of sunscald and wilt. Seedlings raised indoors haven't built up a resistance to sun, wind, or temperature swings. Jumping straight into the garden shocks them within hours.
- Planting too early. Cold soil stops root growth, and the plant sits there, stalled. If a cold snap is coming, cover the plant with a cloche, a row cover, or a simple plastic jug with the bottom cut out.
- Handling the stem too roughly. A crushed stem can't move water to the leaves. Always pick up seedlings by the leaves or the root ball.
- Letting seedlings get root-bound. If roots are circling the bottom of the cell, they struggle to spread after planting. Gently tease the outer roots loose before putting the plant in the hole.
- Overwatering or underwatering after transplant. Too much water suffocates the roots. Too little makes the leaves curl and droop. Check the soil daily for the first week. Keep it consistently moist, not soggy.
- Leaving lower leaves buried incorrectly. If you don't strip the lower leaves before burying the stem, those leaves rot underground and can invite disease. Pinch them off, then plant.
So what does transplant shock actually look like? Leaves curl, droop, and sometimes turn pale around the edges. The stem stays upright, but the plant just looks tired.
Some wilting is normal for the first day or two. If it lasts longer than that, check the soil moisture first. If the soil is wet, stop watering and let it dry out.
If it's dry, give a slow, deep drink.
The good news is that tomatoes are extremely forgiving. A plant that looks half-dead on day three can look completely normal by day ten. Give it time, keep the base mulched, and resist the urge to feed heavily during the first week.
A light root-stimulating fertilizer is fine. Don't come in with high-nitrogen fertilizer yet. The roots need to establish before the leaves take off.

Similar Posts