How to Grow Tomatoes From Seed
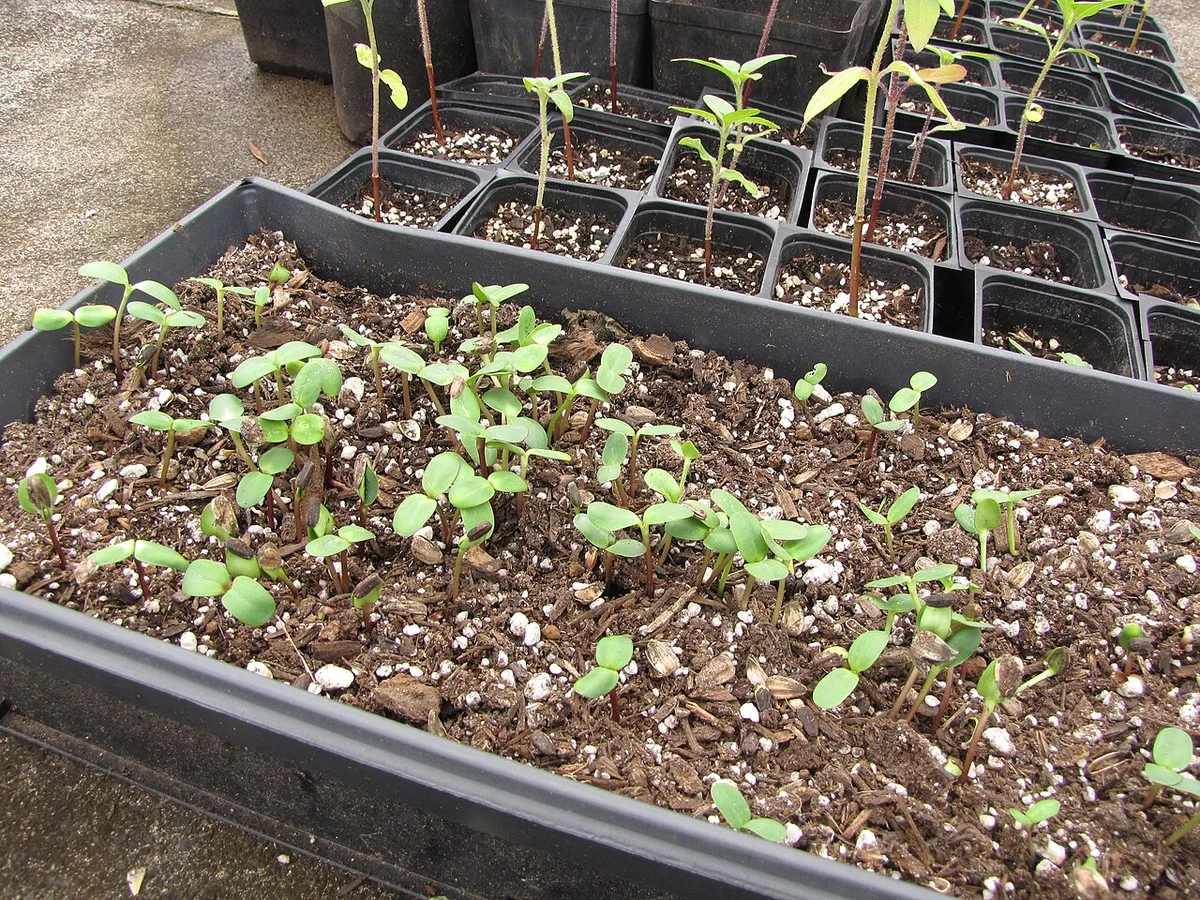
Figuring out how to grow tomatoes from seed can feel more complicated than it needs to be. Every guide throws dates, gadgets, and rules at you, and the advice often contradicts itself. That's because seed starting isn't a fixed recipe.
It's a conditional process that changes based on your climate, your light setup, and the varieties you're growing.
As of 2026, home seed starting is more reliable than ever. At 75°F to 80°F, most tomato seeds germinate in 7 to 14 days, but only if the mix stays warm and evenly moist. University extension services publish local frost-date maps that take the guesswork out of timing.
Let's start with the logic behind that.
Why Seed Starting Is a Conditional Process, Not a Recipe
Tomatoes are warm-season plants with a hard deadline: they can't go outside until the danger of frost has passed. But they also need 6 to 8 weeks of indoor growth before that date. So the real question isn't "when should I start seeds?" It's "what conditions can I actually give them?"
Do you have a sunny south-facing window? That affects how early you can start. Do you own a heat mat and grow light?
That gives you stronger seedlings, faster. Are you growing a 90-day Cherokee Purple or a 65-day early slicer? That shifts your entire timeline.
The process stays the same, but the details branch off.
Seed starting works best when you treat it as a decision tree. You check your climate, your equipment, and your varieties, then pick the path that fits. If you skip that step and follow a fixed calendar, you'll either start too early and deal with leggy plants, or start too late and wait forever for ripe fruit.
Let's walk through each branch.
The First Branch: Know Your Last Frost Date
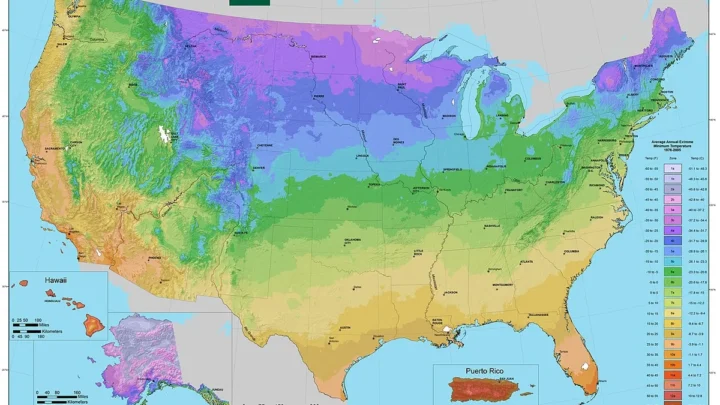
Your last frost date is the average date in spring when temperatures are expected to stay above 32°F. It's not a promise, but it anchors your whole schedule. Count back 6 to 8 weeks from that date and you've found your seed-starting window.
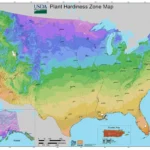
To find that date, check your local university extension service. The University of Minnesota Extension publishes detailed planting calendars and frost maps, and many county extension offices do the same for their area. If you're in a mixed microclimate, add one to two weeks of margin.
A surprise cold snap can always rear its head.
From there, use a simple branch:
- If you grow determinate varieties, which ripen most of their fruit around the same time, start 6 weeks before your last frost date. They'll stay compact and won't need as much room.
- If you grow indeterminate varieties, which keep vining and producing all season, start 7 to 8 weeks before the last frost date. The extra week buys you a stronger, taller transplant.
Also keep the garden soil in mind. Tomatoes can go out after frost passes, but growth slows in soil below 60°F. In a cool spring, consider holding off another week or using black mulch to warm the bed.
Gear and Setup: What You Really Need to Grow Strong Seedlings Indoors
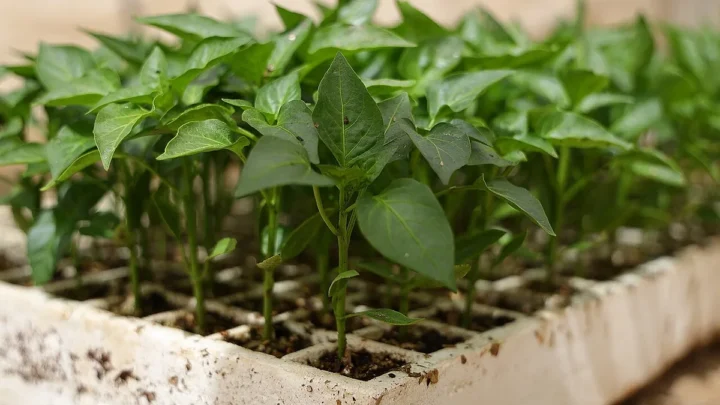
Starting tomatoes indoors doesn't require a greenhouse or a grow tent. But there are a few pieces of gear that make the difference between stocky, healthy seedlings and weak, stretched-out ones.
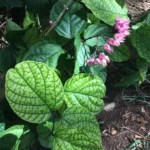
Image source: Wikimedia Commons / Forest and Kim Starr (CC BY)
| Gear | Why it matters | What to grab |
|---|---|---|
| Seed-starting mix | Sterile, fine-textured, and drains well. Never use garden soil. | Bagged soilless mix with perlite or coir |
| Trays and cells | Gives roots room and makes bottom-watering easy. | 6-cell or 12-cell plastic trays with holes |
| Heat mat | Keeps soil at 75°F to 80°F for fast, even germination. | Any 10×20 inch seedling heat mat |
| Humidity dome | Traps moisture until seeds sprout. | Clear plastic lid or plastic wrap |
| Grow light | Prevents leggy seedlings when window light is weak. | Full-spectrum LED shop light, 24 to 36 inches long |
The most important piece is the light. A standard window usually won't cut it after the first week or two. Look for a full-spectrum LED shop light or a purpose-built grow light that you can hang 2 to 3 inches above the seedling tops.
Run it 14 to 16 hours a day, on a timer if possible, and raise it as the plants grow.
Also avoid regular garden soil for seed starting. It drains poorly indoors and can harbor fungi that cause damping off, a disease that flattens seedlings overnight. Use a sterile, soilless mix instead.
The Complete Seed-to-Seedling Workflow: Sowing, Light, Water, and Potting Up
Here's the full workflow, from dry seed in the packet to a garden-ready transplant.
- Moisten your seed-starting mix before filling the trays. It should feel like a wrung-out sponge: damp, not dripping.
- Fill each cell loosely and press down lightly. Sow 2 to 3 seeds per cell at a depth of 1/4 inch.
- Place the trays on a heat mat set to 75°F to 80°F. Cover with a humidity dome to keep the surface from drying out.
- Check daily. Once the first sprouts appear, take off the dome and move the trays under the grow light.
- Keep the light 2 to 3 inches above the plants. Run it 14 to 16 hours a day. Water from below by adding water to the tray, or gently from the top if the mix dries out.
- When seedlings have two sets of true leaves, thin to the strongest one per cell. Snip the extras at soil level instead of pulling them up.
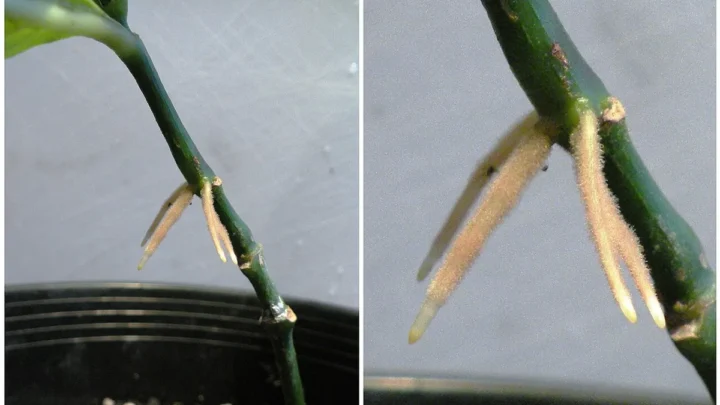
- At 2 to 3 inches tall, pot up into 4-inch containers if they're crowding. Bury the stem up to the first leaves. Tomatoes grow roots from buried stems, so this step builds a stronger plant.
- About 10 days before transplant, start fertilizing with half-strength liquid seedling food every week.
A few details matter more than the basics. Always water from below when you can. It keeps the top of the mix dry, which prevents damping off and discourages fungus gnats.
If you do water from the top, use a gentle stream and let the surface dry before the next round.
The first leaves that appear are cotyledons, not true leaves. The true leaves, which look like little tomato leaves, show up about a week later. That's when you thin.
As the seedlings grow, brush your hand over them a few times a day. It strengthens the stems before they ever face a breeze.
Hardening Off and Transplanting: The Bridge to the Garden
Seedlings grown indoors are soft. Direct sun and wind can scorch or snap them in an afternoon. Hardening off is a slow, 7 to 10 day transition that toughens them up.
- Day 1 and 2: Put them in a sheltered, shady spot for 30 to 60 minutes. Morning light is best.
- Day 3 and 4: Add an hour or two of morning sun, still protected from strong wind.
- Day 5 through 7: Move them into sunnier spots and leave them out for 4 to 6 hours.
- Day 8 through 10: Leave them out all day unless frost threatens. Bring them in at night for the first week.
If you see wilting, scale back and give them afternoon shade for a day. They'll bounce back quickly.
After the last frost date, and when the soil is at least 60°F, transplant on a cloudy day or in late afternoon to reduce shock. Dig a hole, pinch off the lower leaves, and plant the stem deep, even up to the first true leaves. Roots will sprout from the buried stem and give the plant a much bigger root system.
Water thoroughly and mulch to hold moisture.
Common Seed-Starting Mistakes and How to Fix Them
Even experienced gardeners lose a few seedlings every spring. The good news is that nearly every problem has a simple cause and an easy fix.
- Starting too early. Big seedlings outgrow their pots before the garden is ready. Fix: count back 6 to 8 weeks from your last frost date and stick to it.
- Overwatering. Soggy mix invites damping off and root rot. Fix: water from below and let the surface dry between waterings.
- Skipping grow lights. Leggy, pale seedlings mean weak light. Fix: hang a full-spectrum LED 2 to 3 inches above the tops and run it 14 to 16 hours a day.
- Using garden soil. It drains poorly indoors and carries pathogens. Fix: use a sterile, soilless seed-starting mix.
- Forgetting to harden off. Direct sun and wind can burn or snap seedlings in a single afternoon. Fix: introduce them to the outdoors gradually over 7 to 10 days.
If your seedlings are already stretched out, don't toss them. Pot them up deep, burying the leggy stem up to the first true leaves. Buried stems root quickly and often produce sturdier plants than short, stocky ones.
The Seed-Starting Decision Guide: Quick Answers to the Biggest Questions
If you're unsure where to start, this quick guide branches by situation.
| Situation | Recommended move |
|---|---|
| No grow lights | Start 6 weeks before frost date, use a bright south window |
| Heat mat and LED grow light | Start 8 weeks before frost for stronger transplants |
| Growing determinate varieties | Start 6 weeks before frost, they stay compact |
| Growing indeterminate varieties | Start 8 weeks before frost, they need extra growth time |
| Short, cool spring | Pick early varieties (60 to 65 days to maturity) |
For most home gardeners, the safest path combines a heat mat for germination, a full-spectrum LED for growth, and a start date six to eight weeks before your last frost date. If you're torn between two options, aim for week seven. That middle ground gives you room for error without outgrowing your space.
Frequently Asked Questions
How deep should I plant tomato seeds?
About 1/4 inch deep, pressed lightly into moist seed-starting mix. Cover with a thin layer of mix, then mist gently. Seeds need warmth and darkness to germinate.
Do I need a heat mat for tomato seeds?
Not strictly, but it helps. Soil at 75°F to 80°F speeds germination and gives more consistent results. Without one, germination takes longer and may be uneven.
Why do my tomato seedlings get leggy and tall?
Legginess means too little light or too much heat. Keep a grow light 2 to 3 inches above the seedlings and run it 14 to 16 hours a day. Move the light up as they grow.
What is damping off and how do I prevent it?
Damping off is a fungal disease that kills seedlings at the soil line. Prevent it by using sterile mix, watering from below, and removing the humidity dome right after sprouting.
Should I use garden soil for seed starting?
No. Garden soil compacts, drains poorly, and can carry disease. Use a sterile soilless mix made for seed starting.
It stays fluffy and holds moisture without waterlogging.

Similar Posts