How to Fertilize Tomatoes
If you've ever stood in a garden center staring at a shelf of tomato food and felt totally lost, you're not alone. Learning how to fertilize tomatoes is one of the most confusing parts of growing them, yet it's also one of the easiest to get right once you understand the basics. So let's clear the air right now: there's no magic schedule, no secret potion, and no one-size-fits-all routine.
The truth is, feeding tomatoes properly comes down to three things: your soil, your plant's growth stage, and your growing setup. As of 2026, university extension programs across the U.S. consistently recommend starting with a soil test before adding anything else. The target soil pH range for most tomato varieties sits between 6.0 and 7.0, and that single measurement determines more about your feeding plan than any fertilizer label ever will.
Ready to make sense of it all? Let's walk through it together.
Quick Answer
Fertilize tomatoes at planting with a balanced fertilizer. Side-dress every 4 to 6 weeks in the ground. Switch to a lower-nitrogen formula once flowers appear.
Feed container tomatoes weekly with diluted liquid fertilizer. Always water after applying granular feed. Stop fertilizing when the season winds down.
The Real Rule: Feed the Plant, Not the Calendar
Here's the thing that separates great tomato growers from the rest. They don't follow a rigid schedule. They watch the plant, check the soil, and adjust as they go.
That's the mindset shift you need first.
Your tomato plant is a living thing with changing needs. In June, it wants nitrogen to build leaves and stems. By August, it's pouring energy into fruit, so it needs more potassium and phosphorus.
Dumping the same fertilizer every two weeks ignores all that natural progression.
If you give a young seedling too much nitrogen, you'll get a giant leafy bush with hardly any tomatoes. If you underfeed a heavy fruiter like an indeterminate variety, you'll get yellowing leaves and smaller fruit. Either way, you're following the label instead of reading the plant.
The better approach is to treat fertilizer like a tool, not a habit. Test your soil when you can, watch leaf color, and notice how your plants respond after each feeding. That's the real rule.
Everything else is just details.
The Tomato Feeding Decision Tree: Soil, Stage, and Setting
Start with your soil: test it or size it up
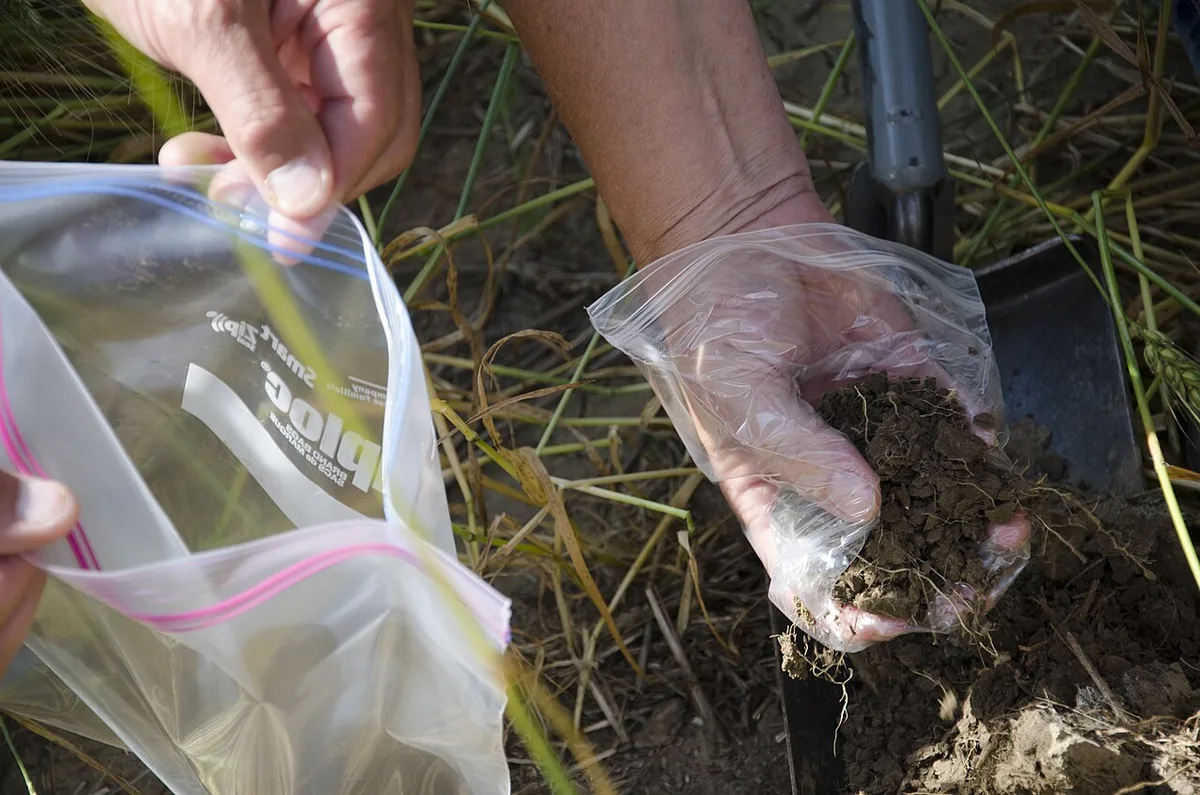
Before we talk fertilizer, let's talk dirt. If your soil is already rich in nutrients, you barely need to add anything. If it's sandy or heavily depleted, you'll need a steady feeding program all season long.
A soil test takes the guesswork out of the whole process. Your local Cooperative Extension service usually offers them for a small fee, and the results tell you exactly what your soil is missing. You might discover you need calcium, not nitrogen.
Or that your pH is off and nutrients are locking out entirely.
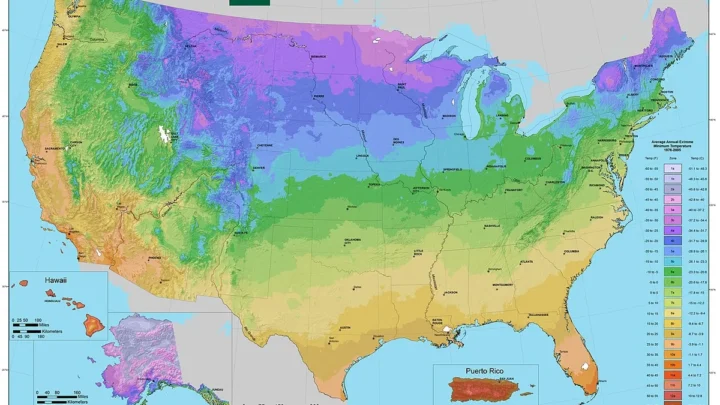
Image source: Wikimedia Commons / USDA NRCS Montana
Branch 1: In-ground vs. raised bed vs. container
Growing in the ground gives your plants access to a huge volume of soil, which means nutrients hang around longer. In-ground tomatoes typically need a balanced granular fertilizer at planting and one or two side-dressings during the season.
Container tomatoes are a different animal entirely. Every time you water, you flush nutrients out of the drainage holes. That's why container plants need frequent, weaker feedings, often weekly or even every other watering.
The soil volume is small, so soluble salts can also build up fast, especially with synthetic fertilizers.
Raised beds sit somewhere in the middle. They hold more soil than containers but drain faster than the ground. You'll likely need a mid-season side-dressing, and you'll want to refresh the soil with compost between seasons.
Branch 2: Determinate vs. indeterminate tomato varieties
Determinate tomatoes, sometimes called bush tomatoes, grow to a fixed size and set all their fruit at once. They have a shorter feeding window. You want steady nutrition early, then you can ease off as the main fruit load ripens.
Indeterminate varieties keep growing and producing until frost. They're the marathon runners of the tomato world. These plants need a longer feeding schedule, especially for potassium, to keep up with continuous flowering and fruiting.
Think of it this way: determinate tomatoes need a boost, indeterminate tomatoes need a steady drip.
How to Fertilize Tomatoes at Every Growth Stage
Seedling and transplant: gentle starter nutrition
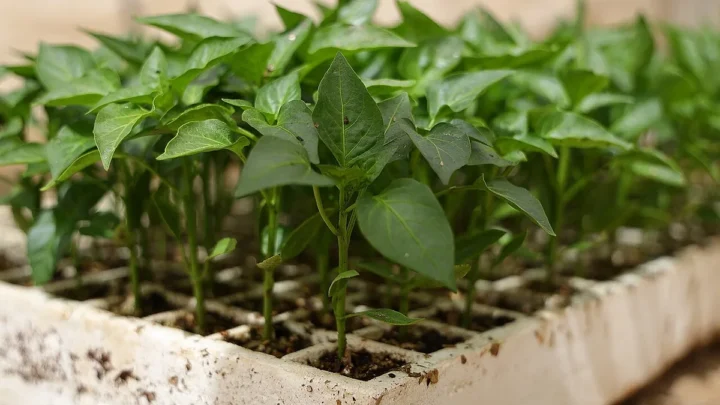
Young seedlings don't need much. Their main job is growing roots, and too much nitrogen at this stage actually weakens stems and delays root development. If you're starting seeds, plain potting mix is enough for the first few weeks.
At transplant time, give your seedlings a mild starter solution. Mix a balanced, water-soluble fertilizer at half strength and pour it into the planting hole. This gives roots a gentle supply of nutrients as they settle in, without burning delicate new growth.
Vegetative growth: building the frame
Once your plant has settled in and started growing, it's time to encourage leafy growth. A balanced fertilizer like a 10-10-10 or 8-8-8 works well here. In the ground, side-dress with granular fertilizer about 4 to 6 inches from the stem and water it in thoroughly.
For container plants, start a weekly routine with a weak liquid fertilizer. The goal is steady, even growth. Watch for dark green leaves, but not overly lush ones.
If the plant is putting out tons of foliage but few flowers, you're probably feeding too much nitrogen.
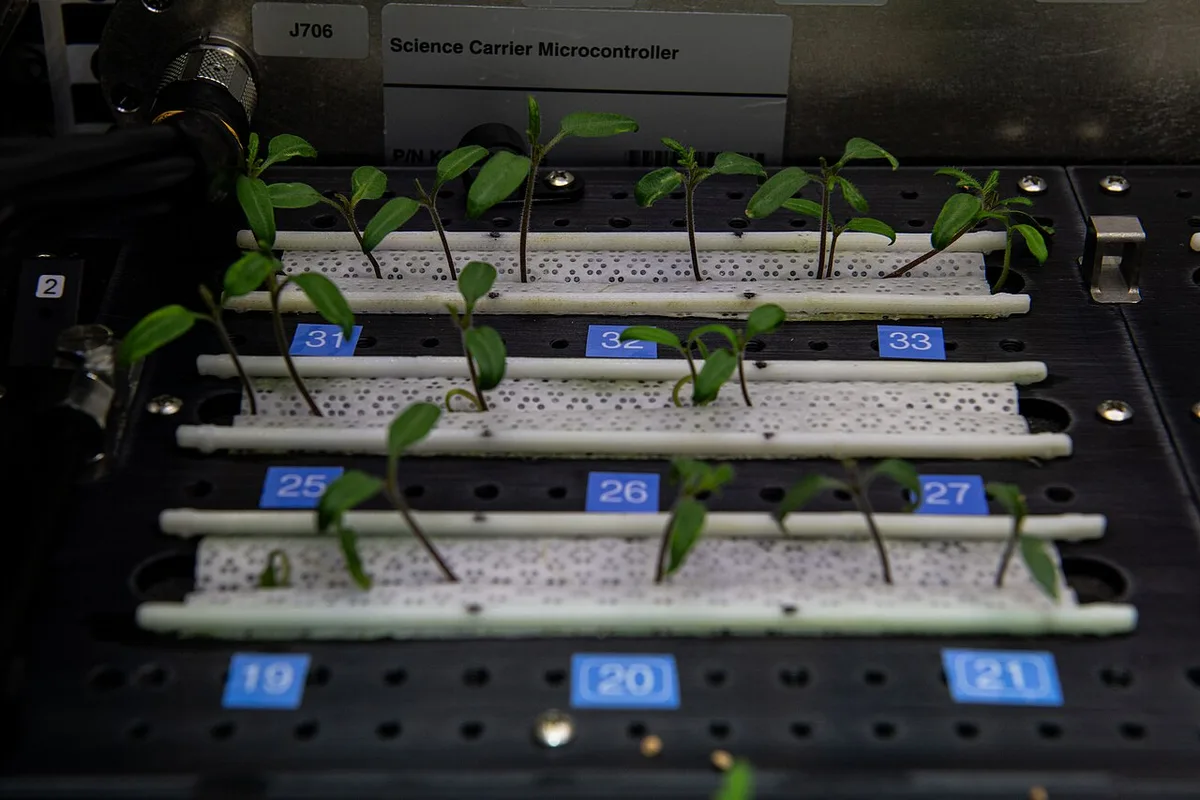
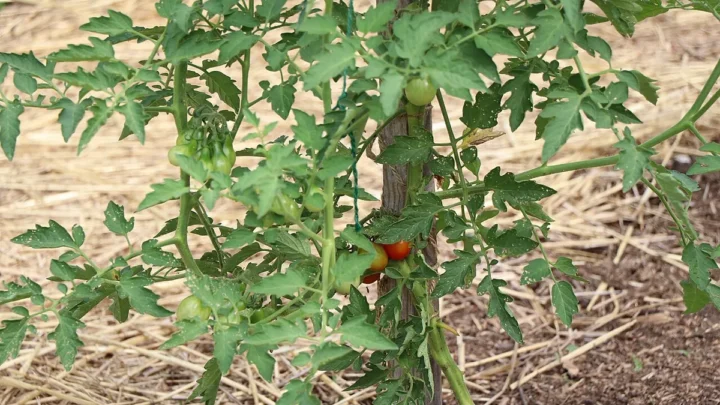
Image source: Wikimedia Commons / NASA Johnson Space Center
Flowering and fruit set: shifting to phosphorus and potassium
This is where the decision tree really matters. Once you see flowers, your tomato plant's nutrient needs change. Nitrogen stays important, but not as much as phosphorus and potassium.
These two support root development, flower production, and fruit quality.
Look for a fertilizer with a middle and last number higher than the first. Something like a 5-10-10 or 4-6-8 is ideal. If you're using liquid feed, switch to a formula designed for the fruiting stage.
Aggregate reviews of tomato-specific fertilizers consistently show these blends reduce blossom drop and improve fruit set.
Late-season feeding and ripening
As the season winds down, slow the feeding. Too much late nitrogen pushes new leafy growth at the expense of ripening fruit. You want the plant to direct its energy into the tomatoes already on the vine.
Stop fertilizing altogether about two weeks before your last expected harvest. This helps the plant focus on ripening rather than producing new growth that won't have time to mature.
Choosing the Right Fertilizer: N-P-K, Organic vs Synthetic, Granular vs Liquid
Reading the N-P-K numbers without the headache
Every fertilizer label has three numbers, like 10-10-10. That's the N-P-K ratio. N is nitrogen, P is phosphorus, and K is potassium.
They're always listed in that order.
Nitrogen fuels leafy growth. Phosphorus helps roots and flowers. Potassium builds strong stems, boosts disease resistance, and improves fruit quality.
A balanced 10-10-10 is fine for early growth. But once flowers appear, you want the P and K numbers to climb.
Organic and slow-release options
Organic fertilizers like compost, bone meal, blood meal, fish emulsion, and kelp meal feed the soil as much as the plant. They release nutrients slowly as soil microbes break them down. That's a huge advantage because it's much harder to overfeed accidentally.
Compost also improves soil structure, which helps roots absorb water and nutrients more efficiently.
For side-dressing, a granular organic blend works well. You can also mix compost into the soil at planting time. One warning: organic fertilizers are slower to act.
If your plant shows a sudden nutrient deficiency, a liquid organic option will correct things faster than dry amendments.
Liquid feeds and water-solubles for quick corrections
Liquid fertilizers are fast-acting and precise. You can feed and water in one step, and plants absorb the nutrients almost immediately. That makes them perfect for container gardens and for fixing mid-season issues like yellowing leaves.
But they don't last long. You'll need to apply them more frequently, often every one to two weeks.
Here's a quick comparison:
| Fertilizer Type | Speed | Best For | Frequency |
|---|---|---|---|
| Granular slow-release | Slow | In-ground and raised beds | Every 4-6 weeks |
| Liquid water-soluble | Fast | Containers, quick fixes | Every 1-2 weeks |
| Organic granular | Slow | Long-term soil health | At planting, then mid-season |
| Compost | Very slow | Soil building | Once or twice a season |
7 Feeding Mistakes That Hurt Your Tomato Plants
Overfeeding and nitrogen burn
More fertilizer doesn't mean more tomatoes. It usually means the opposite. Excess nitrogen can burn root tips, yellow leaves, and trigger explosive leafy growth at the expense of fruit.
If you see a plant that's all vine with barely any flowers, overfeeding is probably the culprit.
Ignoring blossom end rot
Blossom end rot is that ugly, sunken brown patch on the bottom of the tomato. It's not a disease, and it's not always a calcium deficiency. Inconsistent watering causes blossom end rot more often than nutrient problems.
Still, fertilizing with high-nitrogen, low-calcium formulations can make it worse. Keep watering steady, and use a calcium source if your soil test shows a true shortage.
Following someone else's schedule
Your neighbor's feeding routine worked for their soil, their climate, and their variety. That doesn't mean it'll work for yours. Container plants need different food timing than garden beds.
Sandy soil needs more frequent feeding than clay. Learn to read your plant instead.
Skipping the soil test
You might be piling on phosphorus every season while your soil already has plenty. University extensions regularly report that most garden soils have sufficient phosphorus. The excess runs off into waterways and does real environmental harm.
A simple soil test saves you money and keeps pollution down.
Forgetting to water after fertilizing
Granular fertilizer needs moisture to activate. If you spread it and leave it dry, the nutrients just sit there. Worse, dry fertilizer sitting close to plant stems can burn them.
Always water in granular feeds deeply after applying.
Using the wrong formula for containers
Container plants lose nutrients with every watering. They need regular, lightweight feeding. But using a strong, slow-release granular formula in a pot often leads to salt accumulation.
That buildup can lock out nutrients and damage roots. Stick to dilute liquid feeds for container tomatoes.
Assuming yellow leaves always mean hunger
Yellow leaves can mean too much water, not enough water, nitrogen deficiency, magnesium deficiency, or simply old age. Feeding a plant that's actually suffering from overwatering makes things worse. Check the soil moisture and look at which leaves are yellowing before reaching for the fertilizer bottle.
Container, Raised Bed, and In-Ground Gardens: How the Setup Changes Your Feeding Plan
The biggest feeding mistake we see is using the same routine everywhere. Your growing setup changes everything about how nutrients behave. Let's break it down by situation so you can pick the right branch.
If you're growing in the ground, your soil is a massive nutrient bank. Organic matter slowly releases food all season. You'll need a balanced granular fertilizer at planting and maybe one side-dressing at mid-season.
In rich, well-amended soil, that's often all it takes.
If you're using raised beds, your soil drains faster and warms quicker. Nutrients leach out faster too. Plan for an extra mid-season feeding and a weekly check on leaf color.
Compost applied at the start of the season goes a long way.
If you're growing in containers, you're basically doing hydroponics with dirt. Every watering pushes nutrients out the drainage holes. Container tomatoes need a weak liquid feed every one to two weeks, plus a constant eye on salt buildup.
Use a well-draining potting mix and flush the pot with plain water monthly to wash away excess salts.
Tomato Fertilizing FAQs
How often should I fertilize tomato plants?
In the ground, every 4 to 6 weeks works well. In containers, plan on every 1 to 2 weeks with diluted liquid feed. Adjust based on leaf color and growth.
Deep green leaves with steady growth mean you're on track.
How do I fix blossom end rot?
First, even out your watering. Never let the soil dry out completely, then soak it hard. Blossom end rot is mostly a calcium transport issue caused by irregular moisture.
If your soil test confirms a calcium shortage, use a calcium nitrate spray or add gypsum to the root zone.
Can I use too much compost?
Yes, you absolutely can. Compost is a fertilizer, not just a soil conditioner. Layering on excessive compost can push phosphorus and soluble salts too high, which harms roots.
A 1 to 2 inch top-dressing per season is plenty for tomatoes.
Should I fertilize at planting time?
Use a mild starter solution at transplant, not strong granular feed. Young roots burn easily. Mix a water-soluble 10-10-10 at half strength and water it into the hole.
Save stronger feeding for a few weeks later.
Quick Decision Guide: Your Simple Go-to Feeding Plan for the Season
Let's put it all together into one plain plan you can actually follow.
Start with a soil test if you can. That single step tells you whether you even need fertilizer. If you skip it, start with compost at planting and watch your plants closely.
For in-ground tomatoes: mix balanced granular fertilizer into the hole at transplant. When the first flowers appear, side-dress with a lower-nitrogen formula like 5-10-10. Water it in well.
Stop feeding when nights stay warm and fruit is sizing up.
For containers: use a high-quality potting mix with compost already blended in. Feed weekly with a diluted liquid fertilizer. Switch to a fruiting formula at first flowers.
Flush with plain water once a month. Ease off two weeks before your final harvest.
For raised beds: treat them like the ground, but add one extra mid-season side-dressing. Between seasons, amend with compost to rebuild the nutrient bank.
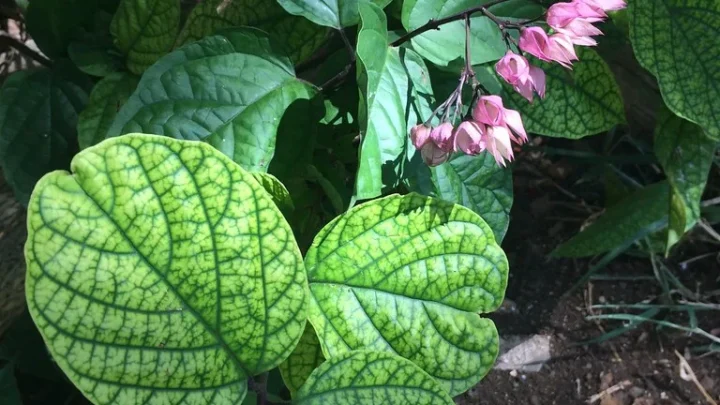
Watch your leaves. Yellow lower leaves often mean nitrogen shortage, or just old age. Dark green, drooping leaves mean overfeeding.
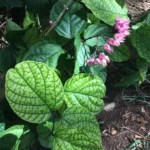
Purple veins mean phosphorus stress. The plant talks. You just have to listen.

Similar Posts